- Welcome
- Desjoyaux advice
- fr_FR
-
How to lay and glue pool coping stones
How to lay and glue pool coping stones
Posté leOne of the last steps before diving into your Desjoyaux pool is installing the coping stones.
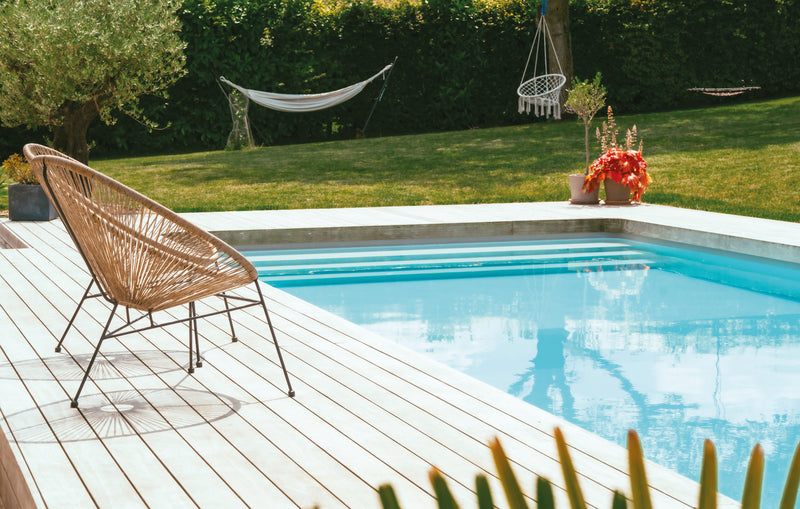
This is an important step because, in addition to their anti-splashing functions and their protection of the water from external pollution such as leaves, grass, etc. which could end up in the water, they also add a beautiful aesthetic to the pool.
The different installation options
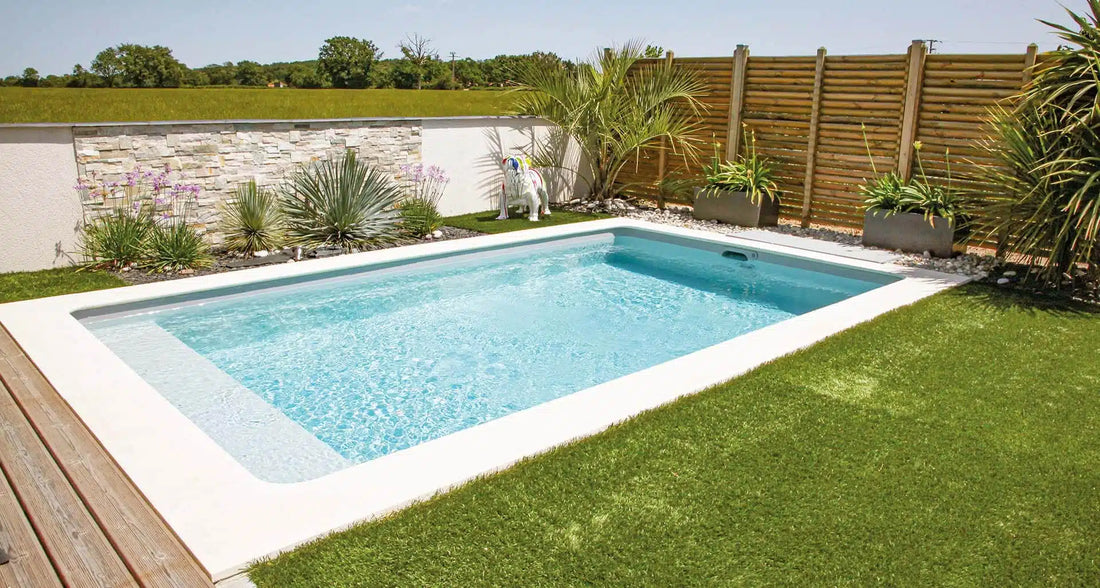
Desjoyaux offers you stone or porcelain stoneware pool coping stones that adapt perfectly to your pool's environment: non-slip and frost-resistant*.
We can also help you choose coping stones if you are unsure or undecided.
Desjoyaux ready-to-dive pools for which a complete quote has been drawn up by the installer include the installation of the pool in its entirety and therefore the installation of the edges.
For those who decide to install the pool coping stones themselves, the installation guide supplied with the pool allows for quality and careful work. However, it is possible to subcontract the installation of the coping stones and call on a professional to carry out this step.
How to lay and glue the coping stones
Preamble to the installation
The pool coping rests on the concrete surround of the pool. This concrete surround is given the barbaric name of "top of the chain" at Piscines Desjoyaux. This top of the chain, filled with concrete and reinforced, has a dimension specifically designed to accommodate the Desjoyaux coping stones. The coping stones can therefore be installed easily.
Pool coping stones can be laid with tile adhesive on dry concrete as long as the top of the chain is perfectly smooth. It will therefore be necessary to perfect the leveling before installing the coping stones.
It is also possible to lay the coping stones with moistened mortar. If this screed is to be laid on dry concrete, an adhesion bridge must be provided by gluing or double gluing with liquid adhesive.
Finally, if the edges are laid on fresh mortar, they must be wetted beforehand for better adhesion of the mortar.
Whatever the gluing method chosen, the Desjoyaux assembly guide is very precise and will provide all the necessary information for optimal installation.
Arrangement of the edges
The first step is to position the coping stones around the pool, ensuring that they are aesthetically pleasing. To do this, start by placing all the corner coping stones around the pool, then the straight coping stones, leaving a joint, and then work your way up towards the inside of the pool.
To adjust each length, it may be necessary to cut the edges with an angle grinder. It is best to do this on two edges rather than just one.
The edges should extend 3 to 4 cm inside the pool to ensure anti-splashing.
The last step is to glue the edges to the top of the chain by preparing the mortar or glue according to the selected technique and then making the joints with the bag of joint cement supplied with the pool.
During your steps, don't forget to use tools such as a notched trowel. This will make your installation easier.
* Our products benefit from a 10-year guarantee on the resistance of the said product (bending, freezing and consistency) and in no case do whitish colored efflorescences fall within the scope of the guarantee.